Creating a Depth Map Viewer: A Step-by-Step Guide.

If you are interested in creating a depth map viewer, you have come to the right place. A depth map is a type of image that contains information about the distances between the objects in a scene. By visualizing this information in a meaningful way, you can create stunning 3D representations of real-world scenes.
In this guide, we will walk you through the process of creating a depth map viewer. We will cover everything from the basics of depth maps to the technical details of implementing a viewer in code. Whether you are a beginner or an experienced developer, you will find something valuable in this comprehensive guide. So, let's get started!
The basic
Have you ever looked at a picture and wished you could step inside it and explore it like it was real? That's what depth maps help us do! A depth map is a special type of picture that tells us how far away things are from us in a scene.
For example, imagine you are looking at a picture of a forest. With a depth map, we can tell which trees are close to us and which ones are far away. This helps us create a 3D representation of the forest, which looks like we can reach out and touch the trees!
Depth maps work by using special colors and shading to represent the distance between objects in a scene. This information can then be used to create 3D models that we can explore and interact with.
In short, depth maps help us create 3D pictures that we can explore like they're real!
How a depth map looks?
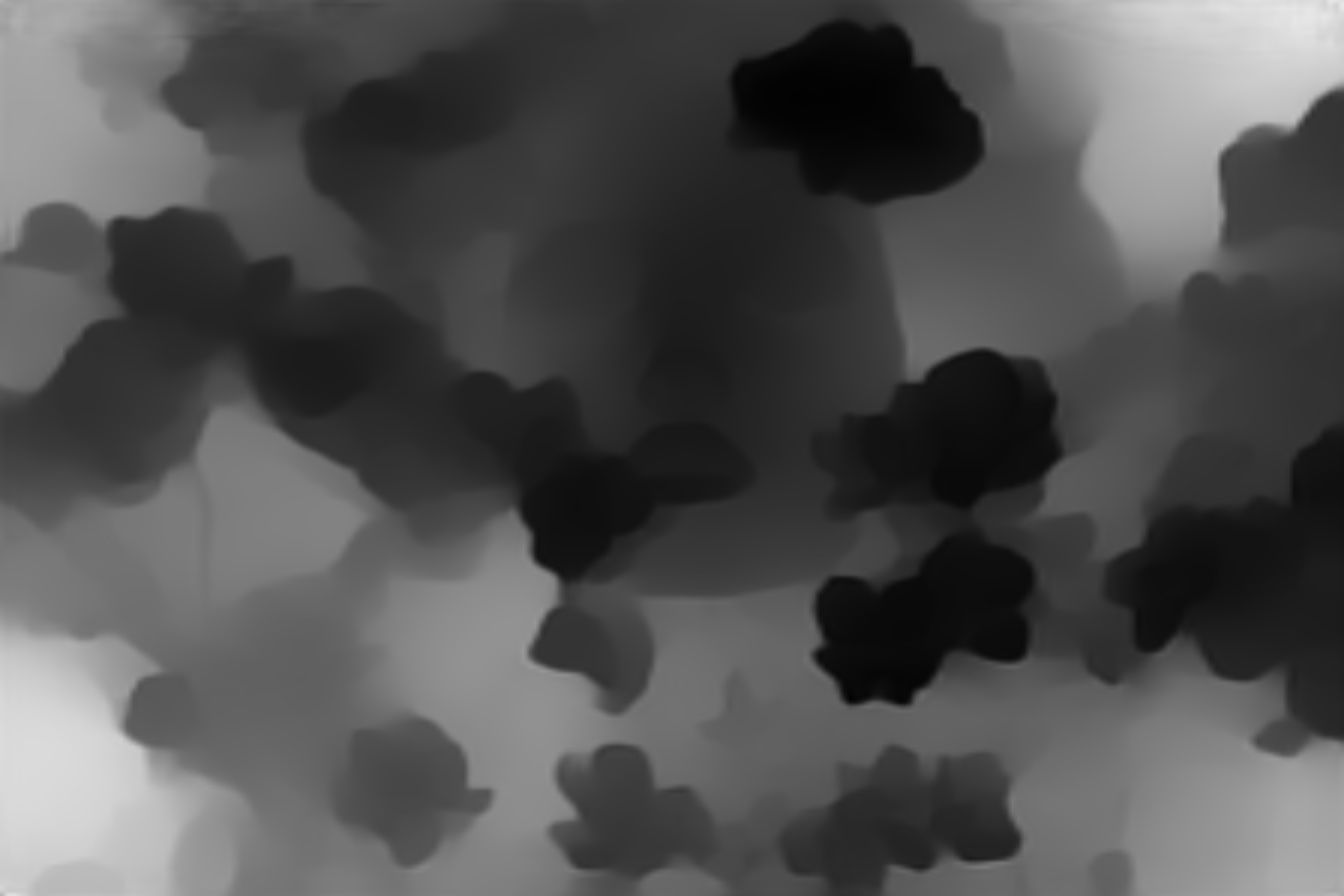
A depth map looks like a black and white picture with different shades of gray. The objects that are closer to us look darker and the ones that are further away look lighter. This helps us create 3D pictures that look like we can reach out and touch the objects! For example this:
How could i get a depth map?
To get a depth map, we need to use a special camera that can capture information about how far away objects are. This information is then used to create the depth map.
In addition to using a special camera, we can also use a type of artificial intelligence called machine learning to create depth maps! Machine learning is like having a computer that can learn and get better at doing things on its own. By using machine learning, we can teach a computer how to make a depth map from a regular picture, which can be really helpful if we don't have a special camera.
In this guide, we'll be using AdelaiDepth, a machine learning tool that can extract a depth map from a regular picture. Go to the link below.
This colab might have a few errors, but don't worry - we'll fix them up and make it work like a charm! So check the steps below and modify accordingly and remember press the play button in every step to make it work.
1. Download libraries and clone git project(run only for first time)
Now we're getting things ready to bring your images to life! This step is like setting up a stage for a grand performance - we'll configure all the paths and download the libraries that we need to create our stunning depth map. It's like preparing all the ingredients before baking a delicious cake. So sit tight, grab a snack, and get ready to witness some digital magic!
#@title Download libraries and clone git project(run only for first time)
%cd /content/
!git clone https://github.com/aim-uofa/AdelaiDepth
!wget -O /content/AdelaiDepth/LeReS/Minist_Test/res101.pth https://cloudstor.aarnet.edu.au/plus/s/lTIJF4vrvHCAI31/download
import sys
import os
sys.path.append('/content/AdelaiDepth/Minist_Test/LeReS/')
os.environ["PYTHONPATH"] += (":/content/AdelaiDepth/Minist_Test/LeReS")
!echo "$PYTHONPATH"
!pip3 install ipykernel matplotlib opencv-python
!pip3 install torch==1.6.0 torchvision==0.7.0
#cudatoolkit==10.2
from IPython.display import clear_output
clear_output()
2. Clean output directory
In this step, we'll wipe the slate clean by deleting all the old data from our output directories. It's like sweeping the floors and making the bed before a fun-filled day of adventure. So let's get our digital cleaning gloves on and make some room for our amazing depth map!
#@title Clean output directory
%%shell
if [ -e /content/AdelaiDepth/LeReS/Minist_Test/test_images ]; then
  if [ -n "`ls -A /content/AdelaiDepth/LeReS/Minist_Test/test_images/`" ]; then
    rm -rf /content/AdelaiDepth/LeReS/Minist_Test/test_images/*
    echo "Cleaned"
  fi
elif [ ! -e /content/AdelaiDepth/LeReS/Minist_Test/test_images ]; then
  mkdir /content/AdelaiDepth/LeReS/Minist_Test/test_images
  mkdir /content/AdelaiDepth/LeReS/Minist_Test/test_images/outputs
  echo "Created directories and cleaned"
fi
3. Upload images(png, jpg works fine, also you can upload multiple images)
It's time to add some pizzas to our project! In this step, you get to pick your favourite photo and upload it. It's like picking out the perfect outfit for a special occasion! So choose wisely and let's bring your photo to life with a stunning depth map!
#@title Upload images(png, jpg works fine, also you can upload multiple images)
%cd /content/AdelaiDepth/LeReS/Minist_Test/test_images/
from google.colab import files
image = files.upload()
#for n in image.keys():
#  print("{name} succesfully uploaded!".format(name = n))
4. Run network
Get ready to witness some serious magic! In this step, we'll hit the play button and voila! Your depth map will appear like a mystical creature from a fairy tale! So, let's not waste any more time and get to the exciting part - press play and watch the magic unfold before your eyes!
#@title Run network
%cd /content/AdelaiDepth/LeReS/Minist_Test
%env PYTHONPATH=/content/AdelaiDepth/LeReS/Minist_Test
!echo "$PYTHONPATH"
!python3 ./tools/test_depth.py --load_ckpt res101.pth --backbone resnext101
!echo "Done!"
5. Download results
Alright, it's time to bring your masterpiece to life! Simply download your new depth map and let's get started on creating our amazing viewer. Get ready to experience the wonders of technology like never before!
#@title Download results
from google.colab import files
%cd /content/AdelaiDepth/LeReS/Minist_Test/test_images/
!find outputs/ -name "*-depth_raw.png" | zip -r result.zip -@
files.download("result.zip")
Well done! By following the steps we outlined above, you've now got a stunning depth map right at your fingertips. But that's not all – it's time to take things up a notch and create our very own image depth viewer.
Creating our depth map viewer
Let's kick off our journey with something fun and easy! First, we'll make a fancy HTML file. Then, we'll sprinkle in some dependencies and get our viewer ready for action. Get ready to see some magic happen!
1. Let's craft our HTML!
This is a basic HTML code structure that includes a link to an external CSS file called "style.css". The "section" tag is used to define a section in a document, and the "container" class is added to style the section with CSS. This code creates an empty container that we will use later to add our depth map viewer.
<html>
    <head>
    	<link rel="stylesheet" href="assets/css/style.css" >
    </head>
    <body>
        <section class="container">
        </section>
    </body>
</html>
2. Lets add the dependencies
In the updated code, two new lines have been added that import two JavaScript files: pixi.4.8.9.js and DepthyViewer.js. These two files are dependencies needed to create the depth map viewer. The pixi.4.8.9.js file is a library called PIXI.js which is used for creating 2D graphics and animations in web browsers. The DepthyViewer.js file is a custom script that handles the depth map viewer logic. By including these files, we are able to use the necessary tools to create and display our depth map viewer.
<html>
    <head>
    	<link rel="stylesheet" href="assets/css/style.css" >
    </head>
    <body>
        <section class="container">
        </section>

        <!-- dependences -->
        <script src="assets/js/pixi.4.8.9.js"></script>
        <script src="assets/js/DepthyViewer.js"></script>
    </body>
</html>
3. Now, it's time to add our very own depth map viewer!
The added lines in the HTML code include a new div element with an id of "depth-viewer" that will be used to display the depth map viewer on the webpage. This div is added inside the "container" section.
<html>
    <head>
    	<link rel="stylesheet" href="assets/css/style.css" >
    </head>
    <body>
        <section class="container">
            <!-- viewer -->
	        <div id="depth-viewer" />
        </section>

        <!-- dependences -->
        <script src="assets/js/pixi.4.8.9.js"></script>
        <script src="assets/js/DepthyViewer.js"></script>
    </body>
</html>
4. Let's kickstart the viewer!
This updated code includes an additional section that initializes the viewer. First, it selects the container element with the id "depth-viewer" using the getElementById method and assigns it to the viewerContainer variable. Then it creates a new DepthyViewer object, passing in the viewerContainer and an empty configuration object {} as arguments.
After creating the viewer, it sets the image and depthmap using the setImage and setDepthmap methods respectively. The paths to the image and depthmap files are passed as arguments.
Overall, this code initializes the depth map viewer, sets the image and depth map files, and prepares the viewer to display the depth map.
<html>
    <head>
    	<link rel="stylesheet" href="assets/css/style.css" >
    </head>
    <body>
        <section class="container">
            <!-- viewer -->
	        <div id="depth-viewer" />
        </section>

        <!-- dependences -->
        <script src="assets/js/pixi.4.8.9.js"></script>
        <script src="assets/js/DepthyViewer.js"></script>

        <!-- initialization -->
        <script>
            let viewerContainer = document.getElementById("depth-viewer")
            let viewer = new DepthyViewer(viewerContainer, {});
            viewer.setImage('assets/imgs/img.jpg')
            viewer.setDepthmap('assets/imgs/img-depth.jpg')
        </script>
    </body>
</html>
Congratulations, you've done it! You followed all the steps and now have your very own image depth viewer, just like the one in the poster image. Take a moment to appreciate the depth and detail of your image, and give yourself a pat on the back for your hard work. You're now a depth map master, and can use your new skills to explore the world of computer vision even further. Keep experimenting, keep learning, and keep pushing the boundaries of what's possible with AI and technology.
Get ready for some behind-the-scenes magic! In my upcoming posts, I'll be breaking down the code that makes all of this possible. You'll discover the secrets behind creating stunning depth maps, and learn how to harness the power of computer vision to bring your images to life. So stay tuned and get ready to dive deep into the world of AI and creativity!